

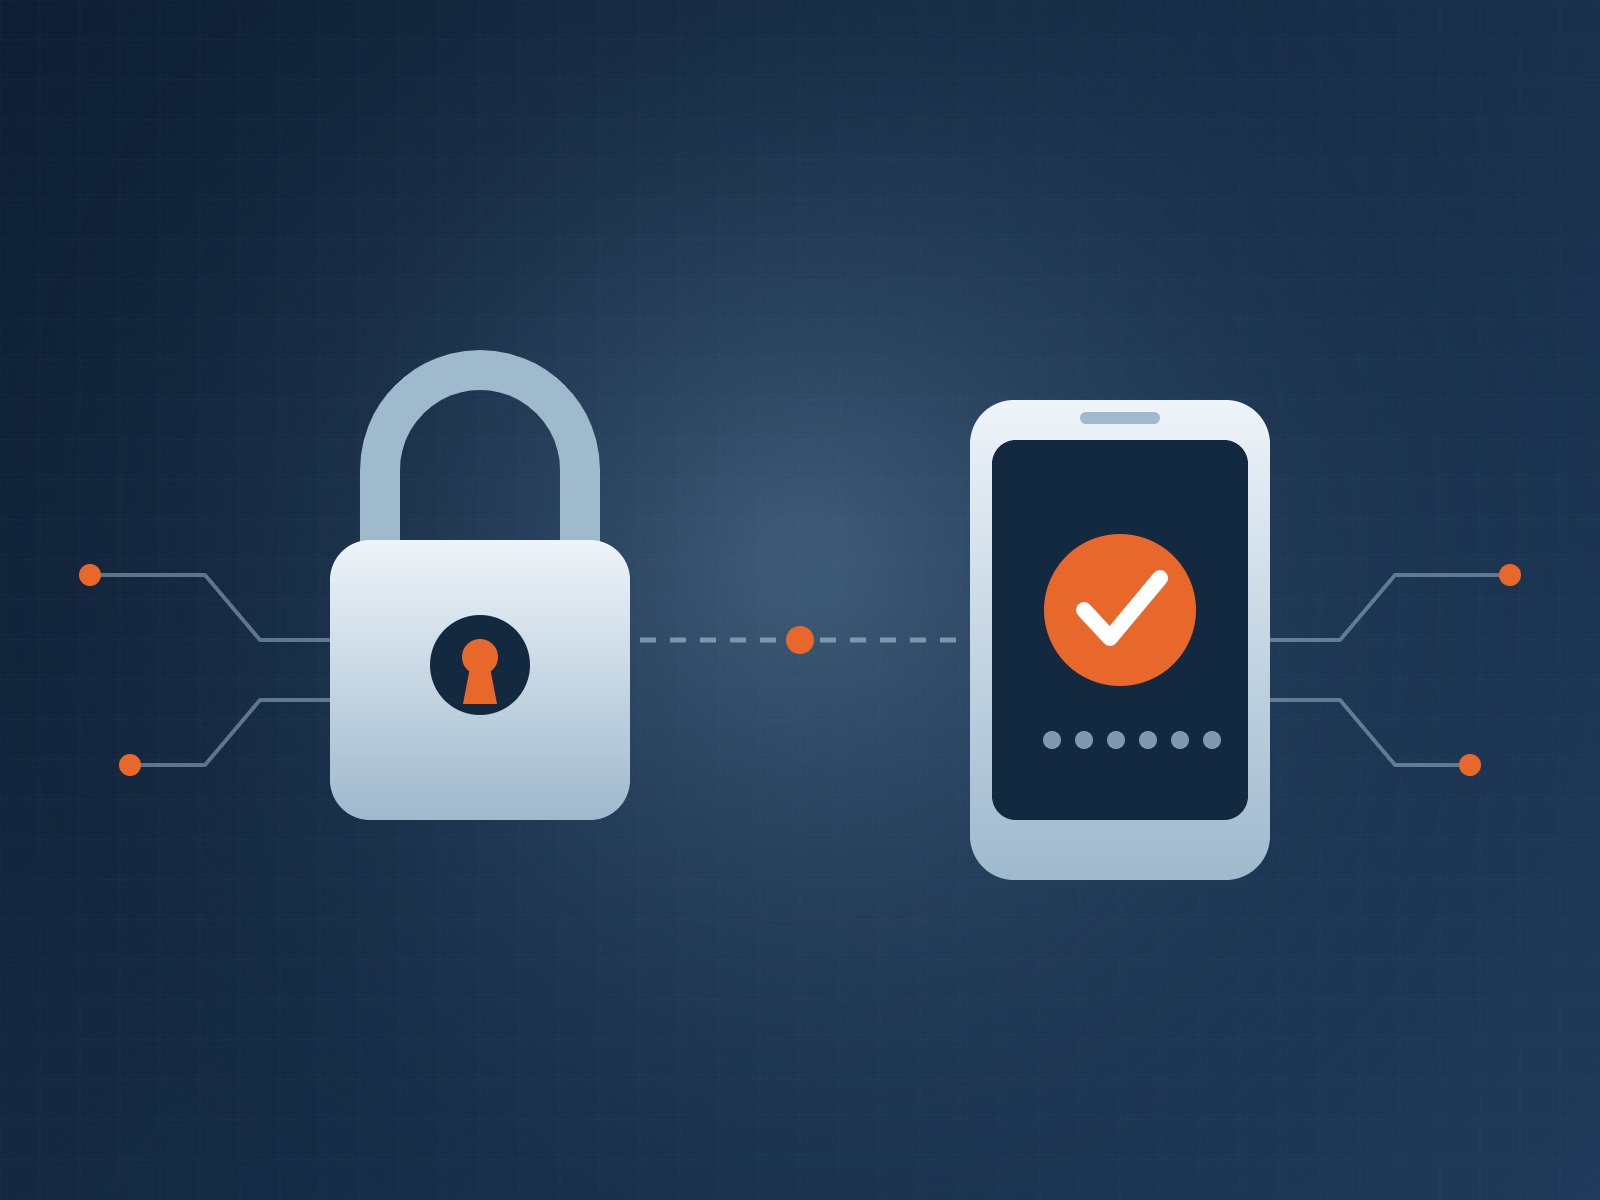
We’ve all seen the movie where the heroes have to launch the super weapon by turning a key to save the earth. But they can’t do it alone. A second person has to turn another key, just out of reach of the first, at exactly the same moment. That’s much like the two-person rule used in some real weapon systems: two people verify the order, and the same two people turn the keys.
Why? So that no single person can end the world just because they want to. Your website and computer credentials deserve the same protection. How awesome would it be to require a second key before anyone gets into your email or bank account? Your accounts can work that way, and it’s called multifactor authentication.
One lock isn’t enough
In Step 1 we moved your passwords into a password manager, which makes each one long, unique, and hard to guess. That fixes the biggest weakness, but a password is still only a secret, and secrets can be stolen. They leak in data breaches, get typed into fake login pages, and get talked out of people over the phone.
Multifactor authentication, or MFA, adds a second lock. This is Step 2 of Secure Your Business, One Step at a Time, and it is one of the most valuable changes you can make to an account whose password has already gone wrong.
What multifactor authentication does
MFA means proving who you are in two or more different ways: something you know (a password), something you have (a phone or security key), or something you are (a fingerprint or face). CISA describes the payoff simply: an attacker who steals one factor, usually the password, still cannot meet the second requirement. CISA says people who use MFA are significantly less likely to be hacked.
For a business, this matters most on the accounts that run everything else: email, banking, your Microsoft 365 or Google admin portal, your domain registrar, and the password manager itself. If a criminal gets the password to one of those, MFA is often the only thing standing between them and your data.
Not every second lock is equally strong
Any MFA is better than none, and CISA says so directly. But the methods are not equal, and it helps to know the pecking order:
- Text message or voice codes are the weakest. CISA’s phishing-resistant MFA fact sheet says they can be phished or intercepted and should be a last resort. NIST’s current guidance also singles out phone-network codes as its one “restricted” method.
- Authenticator app codes are a solid step up, but a code can still be typed into a fake login page.
- Push approvals (tap Approve on your phone) can be abused. Attackers flood a person with prompts, hoping they will tap one just to make it stop. This is called push bombing, and typing a number shown on the login screen (number matching) helps blunt it.
- Security keys and passkeys are the strongest. CISA calls this family of technology, known as FIDO/WebAuthn, the gold standard because it will not work on a fake website. This is the method we strive to use on all of our accounts and client accounts. We use and recommend Yubikeys. They fit on our keychains so they are with us wherever we are. Some are even small enough to leave plugged into your computer all the time.
The practical rule is to use the strongest option a service offers, and never skip MFA just because the best option is not available.
Passkeys: where this is heading
A passkey replaces the password with a cryptographic key stored on your phone, your computer, or a security key. You approve the sign-in the same way you unlock the device, with a fingerprint, a face, or a PIN. Each passkey is tied to one website, so there is nothing to type into a fake page, and the real site holds no shared secret for a criminal to steal. That is why the FIDO Alliance, the industry group behind the standard, treats phishing resistance as a core design goal.
This is where the password manager from Step 1 earns its keep again. Passkeys need a safe place to live, and the FIDO Alliance notes they can be kept in a third-party password manager and synced between your devices with end-to-end encryption. Hardware security keys keep theirs on the key itself.
The honest caveat is that passkeys are not available everywhere yet. Use a passkey wherever a site offers one, use a password plus MFA everywhere else, and expect to run both side by side for a while.
Where to turn it on first
Start with the accounts that would hurt most to lose:
- Email, which is often the key that resets every other password
- Banking and payroll
- Your password manager’s vault
- Your domain registrar and website hosting
- Microsoft 365 or Google admin accounts
At each one, pick the strongest option on offer: a passkey or security key first, an authenticator app next, and text messages only if nothing else is available.
Most services also hand you recovery codes when you turn MFA on. They are your way back in if you lose your phone or key, so treat them like a spare key. Save them, but don’t leave them in a file on your computer called “recovery codes.” Store them in your password manager if it supports that, or print them and lock the copy in a drawer or filing cabinet.
Your password manager is the one exception. Its own recovery information can’t live inside the vault it unlocks, so keep that copy on paper, offline, where only you and someone you trust can reach it. That way you can never be locked out of your own vault.
For a business, make MFA a company rule rather than a personal choice, with administrators first. Also decide who owns the recovery codes for shared accounts, which ties directly to our article on who holds the keys to your business.
One action for this week
Turn on MFA for your email today. If you have the choice, pick a passkey or an authenticator app over text messages, and save the recovery codes when it offers them. That one change protects the account that unlocks most of the others.
If you would rather not work through every account alone, Wolverstone Solutions can help you choose the right methods, roll MFA out across your team, and set up recovery so nobody gets locked out. Get in touch and we will walk through it with you.
Next in the series: Step 3 looks at phishing: how to recognize a convincing message, and what to do in the first minutes if you click.

Leave a Reply